**********************************************************
Cross-stitch n' Craft Projects
**********************************************************

Here's my old board project (the red one) and my new marker holder and new memo board side by side on my refrigerator.
Old Dry Erase Board, Re-Done
I purchased an old, worn out dry erase board at a yard sale for 1.00 and painted it white. I once did it with another one, painting it red and placing magnets on it for the refrigerator to use as a shopping list board. Steps for embellishing below.
I purchased an old, worn out dry erase board at a yard sale for 1.00 and painted it white. I once did it with another one, painting it red and placing magnets on it for the refrigerator to use as a shopping list board. Steps for embellishing below.
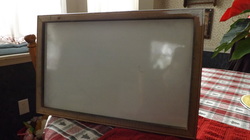
Cleaned this up a bit before painting.
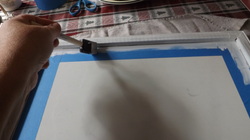
Place painters tape around the inside edges to prevent paint from getting onto dry erase portion of board. Paint once, allow to dry then give it a second coat. I used Valspar Ultra White paint from Lowe's. I actually got 2 sample pints for FREE using some coupons I found in various magazines this past summer. When completely dry, remove tape.
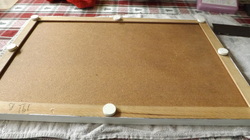
Turn board over and hot glue 8 round magnets as pictured.
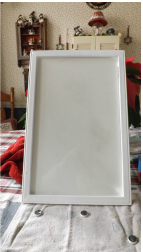
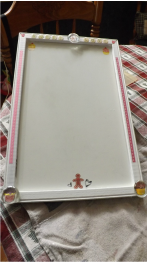
Embellish finished board with stickers or anything you wish. I used kitchen stickers of cupcakes, gingerbread men, hearts, and sticker borders.
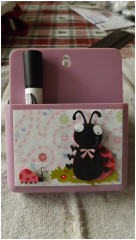
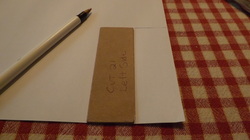
Dry Erase Marker Holder for Refrigerator
Here's a quick and easy re-fix. I needed something to hold my dry erase board markers on the refrigerator. I have a memo board I painted red one day and use for my shopping lists etc. The magnet i wrapped around the markers weren't working very well and then I found this old magnetic pencil holder. I washed it and began embellishing! Follow steps below.
Here's a quick and easy re-fix. I needed something to hold my dry erase board markers on the refrigerator. I have a memo board I painted red one day and use for my shopping lists etc. The magnet i wrapped around the markers weren't working very well and then I found this old magnetic pencil holder. I washed it and began embellishing! Follow steps below.
Search yard sales, goodwill or thrift stores for your pencil holder or something you can use. If it doesn't have magnets, just add them with hot glue when you're finished.
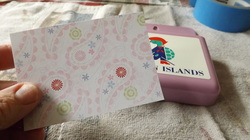
Cut a piece of scrapbook paper you like to the size of the area you want covered.
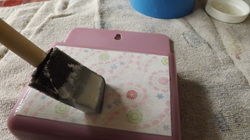
Using Modge Podge or other decoupage glue, place a layer on holder then a layer on back of paper and place on holder. Remember, as with any decoupage project, press out the bubbles gently and wipe excess glue off the sides. Once it drys, embellish with stickers, or anything you like.
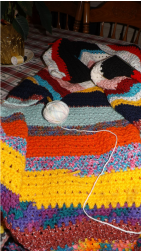
My "Blanket of Many Colors"
My mother, an avid knitter, sent me all of her scrap balls of yarn and voila'! I am crocheting it in a double crochet criss-cross crochet pattern. The blanket, stitched in the evenings, is now large enough to keep me warm as I stitch. When done, it will be big enough for double bed.
My mother, an avid knitter, sent me all of her scrap balls of yarn and voila'! I am crocheting it in a double crochet criss-cross crochet pattern. The blanket, stitched in the evenings, is now large enough to keep me warm as I stitch. When done, it will be big enough for double bed.
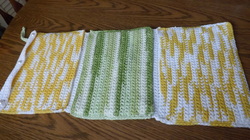
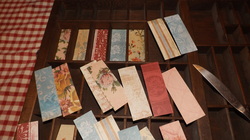
My latest craft project finished!
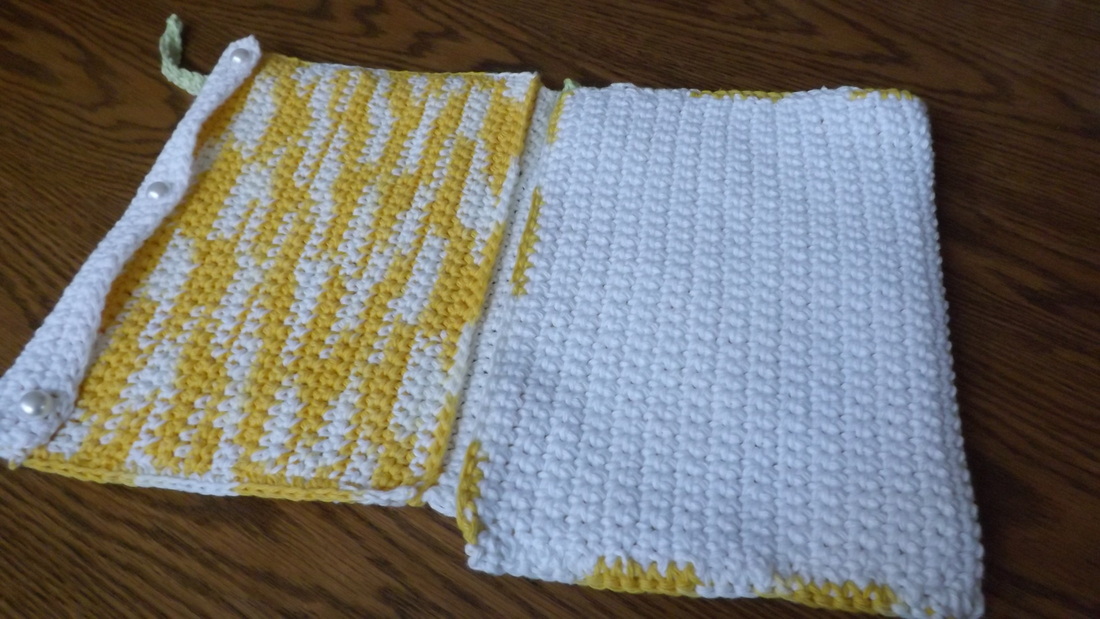
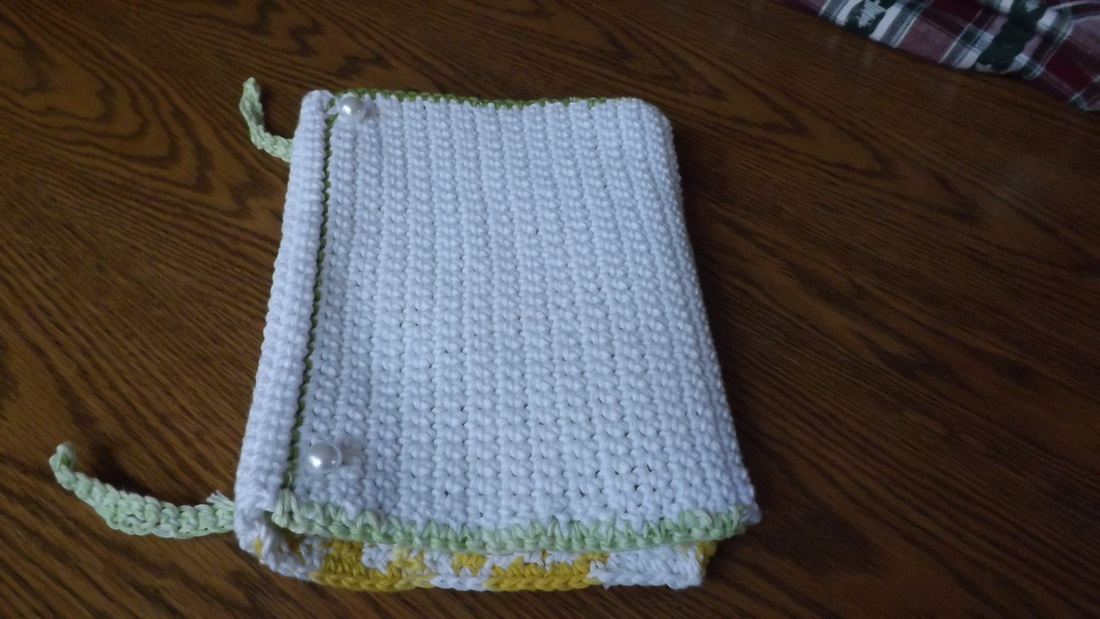
I saw a triple roll case on Pinterest and decided to make a pattern of my own using all single crochet. I first crocheted the back of white 100% cotton yarn. There are 32 rows of single crochet. The pockets, yellows and green, were done with 16 rows of single crochet. Crochet, "sew" them altogether leaving about three or four rows at the top to fold over as a flap. Sew 3 buttons, I used white faux pearl buttons, to secure flap. First picture on the left. Roll from the bottom up and secure with the buttons. I added 2 inch crocheted loops on the back with 2 more buttons if the person using this would like to have it hang on a wall or in a bathroom. These are also good for traveling for your jewlery or tiny items.
I saw a triple roll case on Pinterest and decided to make a pattern of my own using all single crochet. I first crocheted the back of white 100% cotton yarn. There are 32 rows of single crochet. The pockets, yellows and green, were done with 16 rows of single crochet. Crochet, "sew" them altogether leaving about three or four rows at the top to fold over as a flap. Sew 3 buttons, I used white faux pearl buttons, to secure flap. First picture on the left. Roll from the bottom up and secure with the buttons. I added 2 inch crocheted loops on the back with 2 more buttons if the person using this would like to have it hang on a wall or in a bathroom. These are also good for traveling for your jewlery or tiny items.


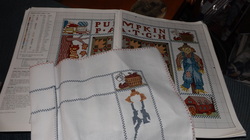
My new cross stitch project for Fall. Hope it's done by the end of September!
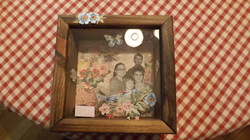
I needed a birthday gift for my grand-children's other grandmother and had a small, empty shadow box on hand. I backed it with rose print scrapbook paper. Printed out a black and white photo of her grand-kids and Modge Podge it onto the rose paper. I then "suspended", with hot glue, a butterfly from the top down the middle, various flowers and birds in 3D effect and a stone to the right with the word "WISH" glued on it. I added white feathers, a flower 3D embellishment on the outside of the frame and voila'! Now I want one for myself. <smile>
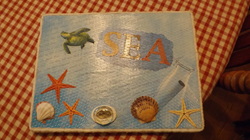
This is a mixed media piece of art i thought I'd try. i decoupaged scrap book paper background onto a stretched canvas and added scrap cut-outs over it. For a 3D effect I glued a real starfish, shells and clear stone to the board. Under the stone is a turtle cut-out. I covered the front with netting from an old onion bag to give the illusion of fishnet. On the sides, to cover any flaws, I wrapped a piece of white fleece I had sewn as a belt for another project, to appear as rope.
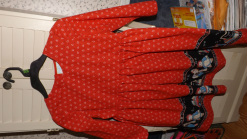
Ok, so my picture is sideways, sorry, I am not sure how to fix this as it showed up on my program as in the right direction. A Daisy kingdom dress I sewed for my grand-daughter.
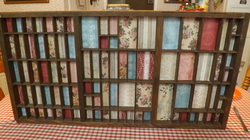
One of my latest finished projects. A memory or treasure box. I used an old printer's shelf i purchased awhile ago at an antique sale and was going to use for rubber stamps as the memory board. You can go to Michael's and purchase their 12 x 12 memory boards for the same idea.
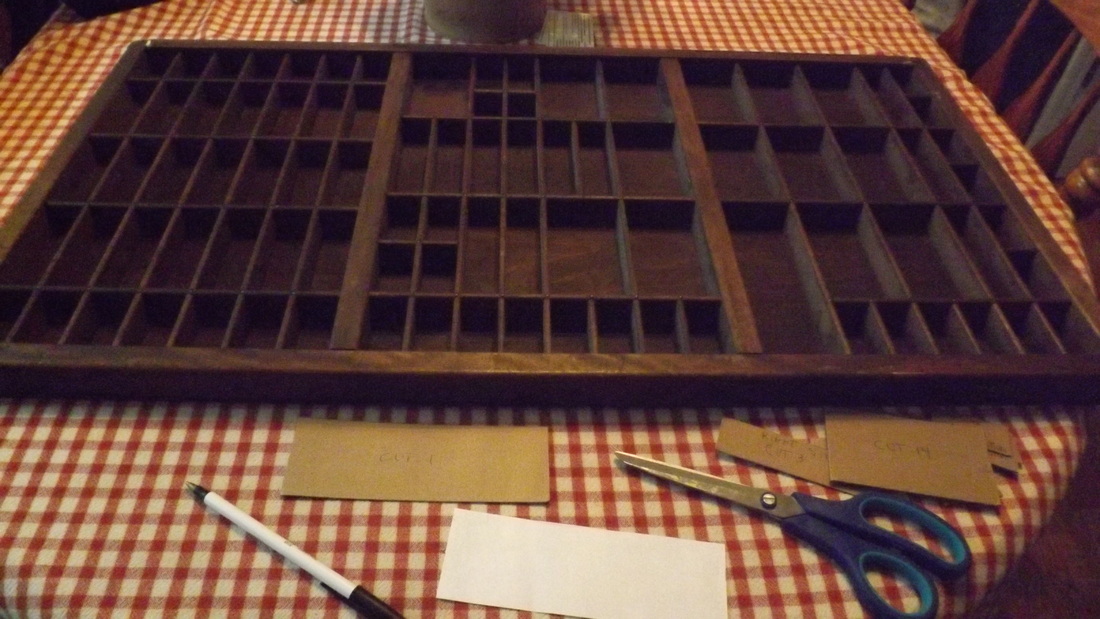
Measure the openings so that you can make a template out of scrap cardboard for each. Outline template onto the back of your scrap book paper and cut.
Make a partial layout of the pattern you want to see in the finished piece and start gluing with glossy or matte Modge Podge. I used glossy, it is my favorite.
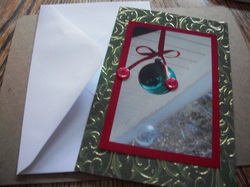
This is another picture, taken from my kitchen where I hung old ornaments from ribbons in my three windows. I printed it adding a red frame and then glued two red buttons on the "ends" of the ribbon in the photo. I think this one is my favorite.
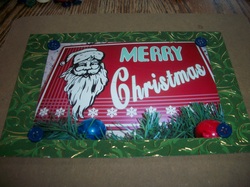
MY CHRISTMAS CARDS
I took a picture of a Santa sign I had decorating my kitchen cabinet, along with old ornaments and garland. I printed it and attached it to a card pre-made for portrait pictures. A few buttons on the corners for embellishments, wrote my own verse on the inside and voila'! |
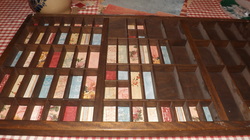
Continue until all spaces are filled, hang it up and begin adding copies of favorite photos, trinkets collected on vacations, etc.
|
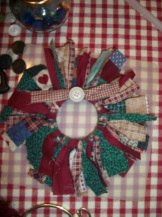
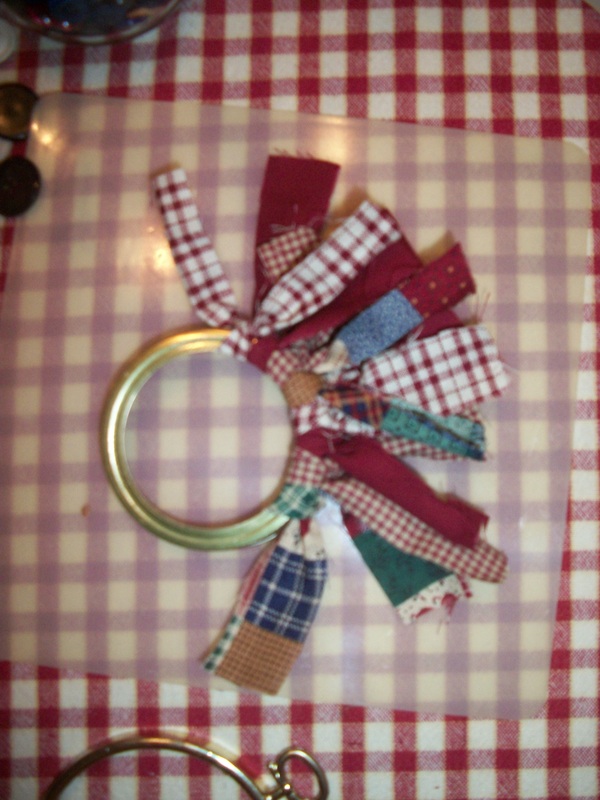
RAG WREATHS
These wreaths are from quite a few years ago, but never go out of style if you love country decorating. They are so easy, you could make this craft a family affair during the holidays.
I have lots of scrap material and I wanted to use some up so I saw these in a holiday craft book and thought why not? Just use whatever scraps you have and match them to your home or make some as a gift for a friend. Here, I used mostly country plaids with a little solids thrown in. For holidays, such as Christmas, use four different prints or mix and match with solids. Why not an Irish shamrock wreath and use as a ring around a green candle? You could make several as a garland and string across a fireplace hearth with dried fruit, cinnamon sticks and bay leaves. The possibilities are
endless!
For one wreath:
1) Cut about 32-36 (7 inches long, 1 inch wide) strips of the 4 or 5 fabrics you choose for your wreath.
2) Take the round lid of a large canning or mason jar and begin tying each strip to lid in one knot. Alternate colors.
3) Choose a strip as a bow and simply knot it. Hot glue it in place and add a button. (This is a great way to use some of collected buttons.)


This hangs in my hallway and is from Hebrews 13:2
"Be not forgetful to entertain strangers, for thereby some have entertained angels unawares." |
This is a new project I am working on in between cross stitching something for a Christmas gift. Both will be pictured when finished. This is from the April, 1994 issue of Cross Country Stitching
|
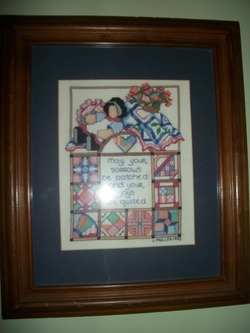
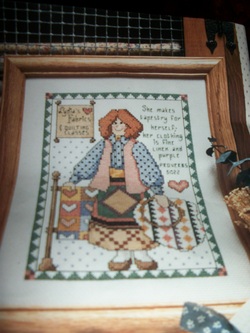
This is a very earlier project done possibly late 80's. I have this hanging in my guest room. I love quilts, so most of the cross stitch I do for my home reflect quilts in someway, if only in the color palette of the piece.
|
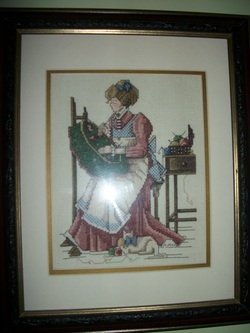
This Victorian lady also hangs in my guest room, which used to be my sewing room. I have since moved my sewing/craft area to another room. This also reflects another love of mine...all things Victorian.
|
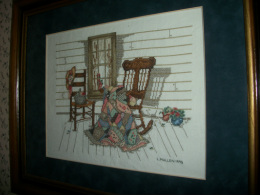
This was stitched in 1995 and hangs in my kitchen where my table and chairs are exactly like the rocking chair in the picture.
|
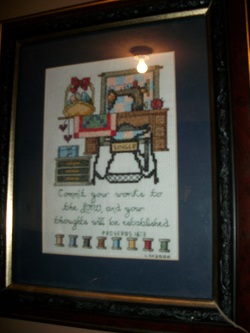
This sewing themed piece now hangs in my new sewing/crafts area of my home. I have numerous patchwork quilt tops to put together this winter. Now to find the time!
|
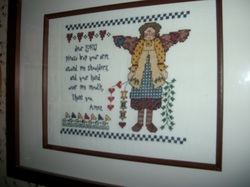
I also love angels, and this one, hanging in my kitchen, reminds me "not to put my foot in my mouth" which I innocently do sometimes. Don't we all? It says, "Dear Lord, please put your arm around my shoulder and your hand over my mouth. Thank you. Amen "
|
